Getting your Raspberry Pi's IP address quickly
I have a project working on the Raspberry Pi at home and now I want to show everyone at work or at a local Pi Jam event. Cool but most of my projects need an internet connection and I always need to ssh in to tweak something at the event. Connecting to the WIFI is easy as I just take the event’s WIFI credentials and make a wpa_supplicant.conf file in the boot directory with the details (see my older post). But now I need to get the IP address of the pi to ssh into the machine and fix my demo!
This is not a huge problem and doesn’t really happen that often. However I just want to show you some ways to solve it. There is a super simple way and an over-engineered hard way I would like to show you. Also I really need a post for 2019 (is it snowing?).
Ignore the harder way, just putting it down so I remember what I did.
*Oh this is all assuming my pi doesn’t have a screen and keyboard attached.
Easy Way (do this way)
When you setup your pi and connect it to your WIFI it will have a hostname already called ‘raspberrypi.local’. Great now you should be able to find the ip address easily by doing a ping to this hostname.
ping raspberrypi.localHowever if you at a Pi Jam or there are many raspberry pis’ on the network with the default hostname you won’t be sure if you are pinging yours. See the ip scanner results below when I have 2 pis on the network.

To fix this all you need to do is before your event change your hostname to something memorable. Ssh into you raspberry pi and do the following:
sudo nano /etc/hostnameThen change the ‘raspberrypi’ to something unique (my example here is not that unique oops).
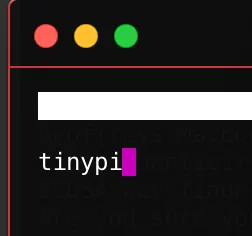
Then reboot (sudo reboot) and you will be able to get the ip address easily with a ping.
ping tinypi.local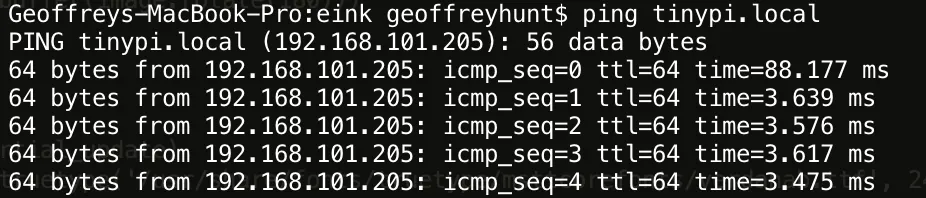
or you could even ssh straight into it like this:
ssh pi@tinypi.localHarder over-engineered way
I didn’t know about the easy way above so I initially did the following. I guess it was a slight waste of time but hey we learn.
I wrote a small bash script to fire a http request to ifttt.com with the raspberry pi’s ip address.
Let me show you what I did.
Assuming you have an ifttt.com account first step was to choose the webhook service.

Then setup a trigger which is our webhook.
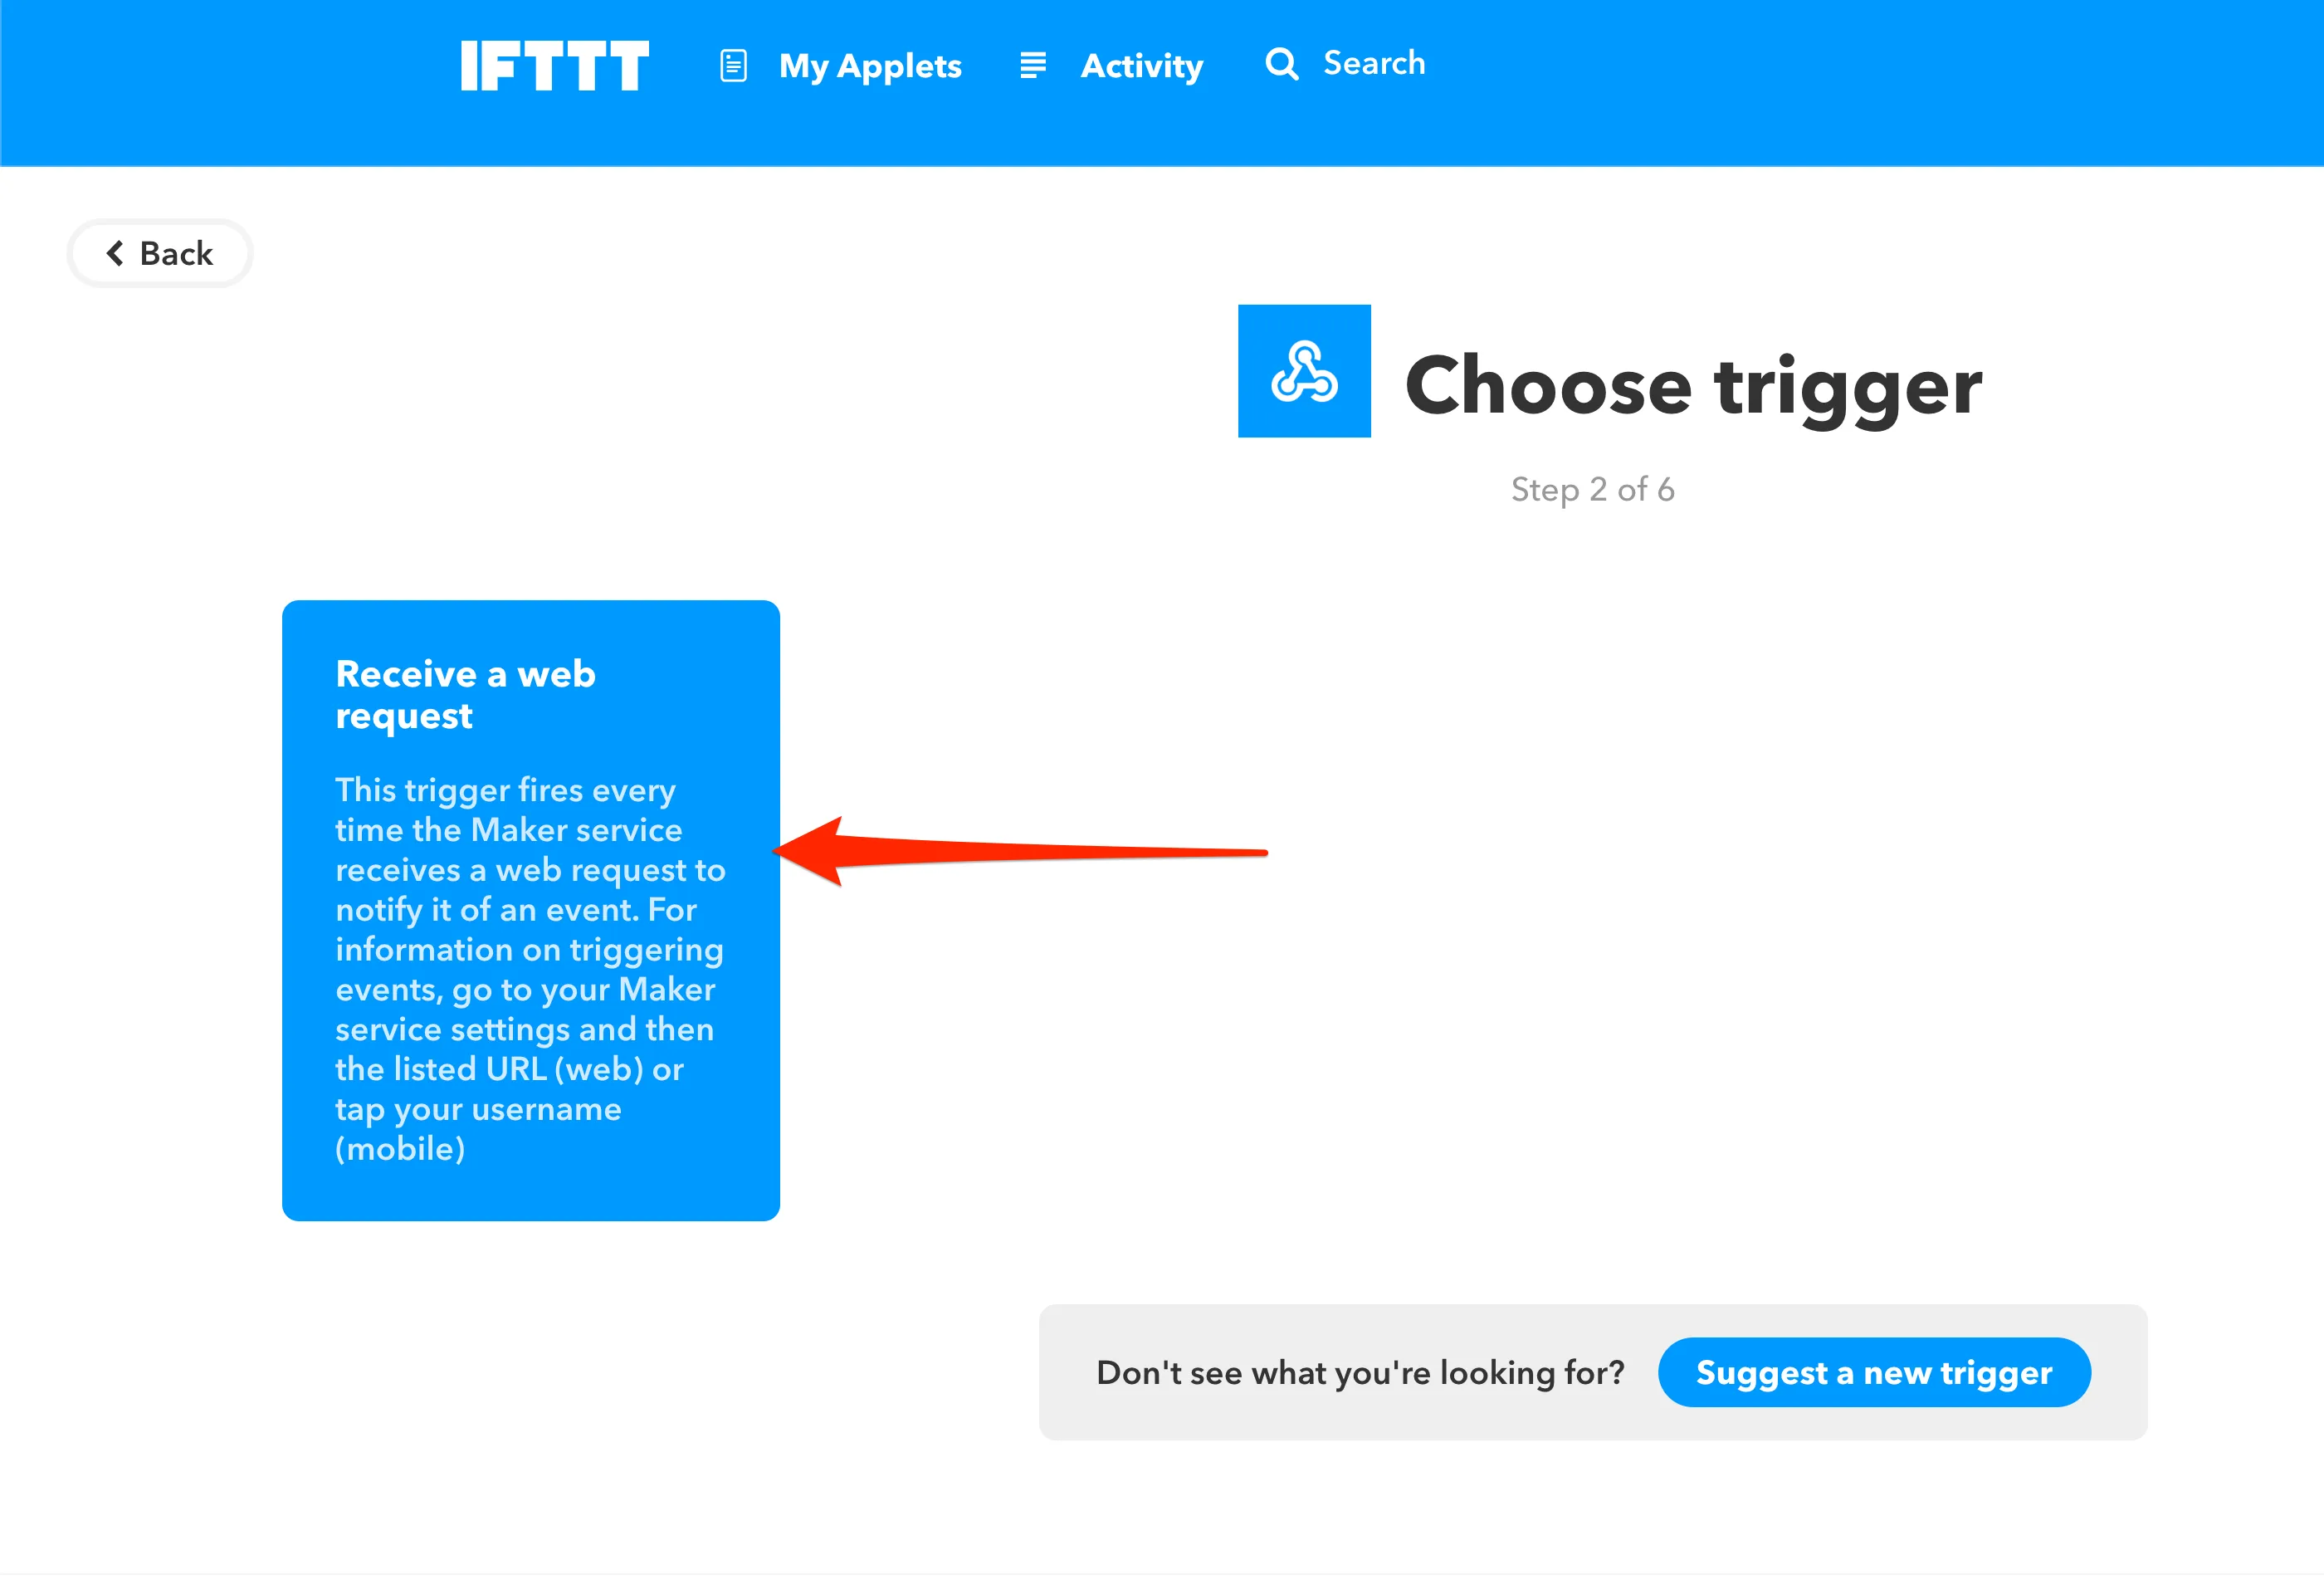
Give webhook trigger a name.

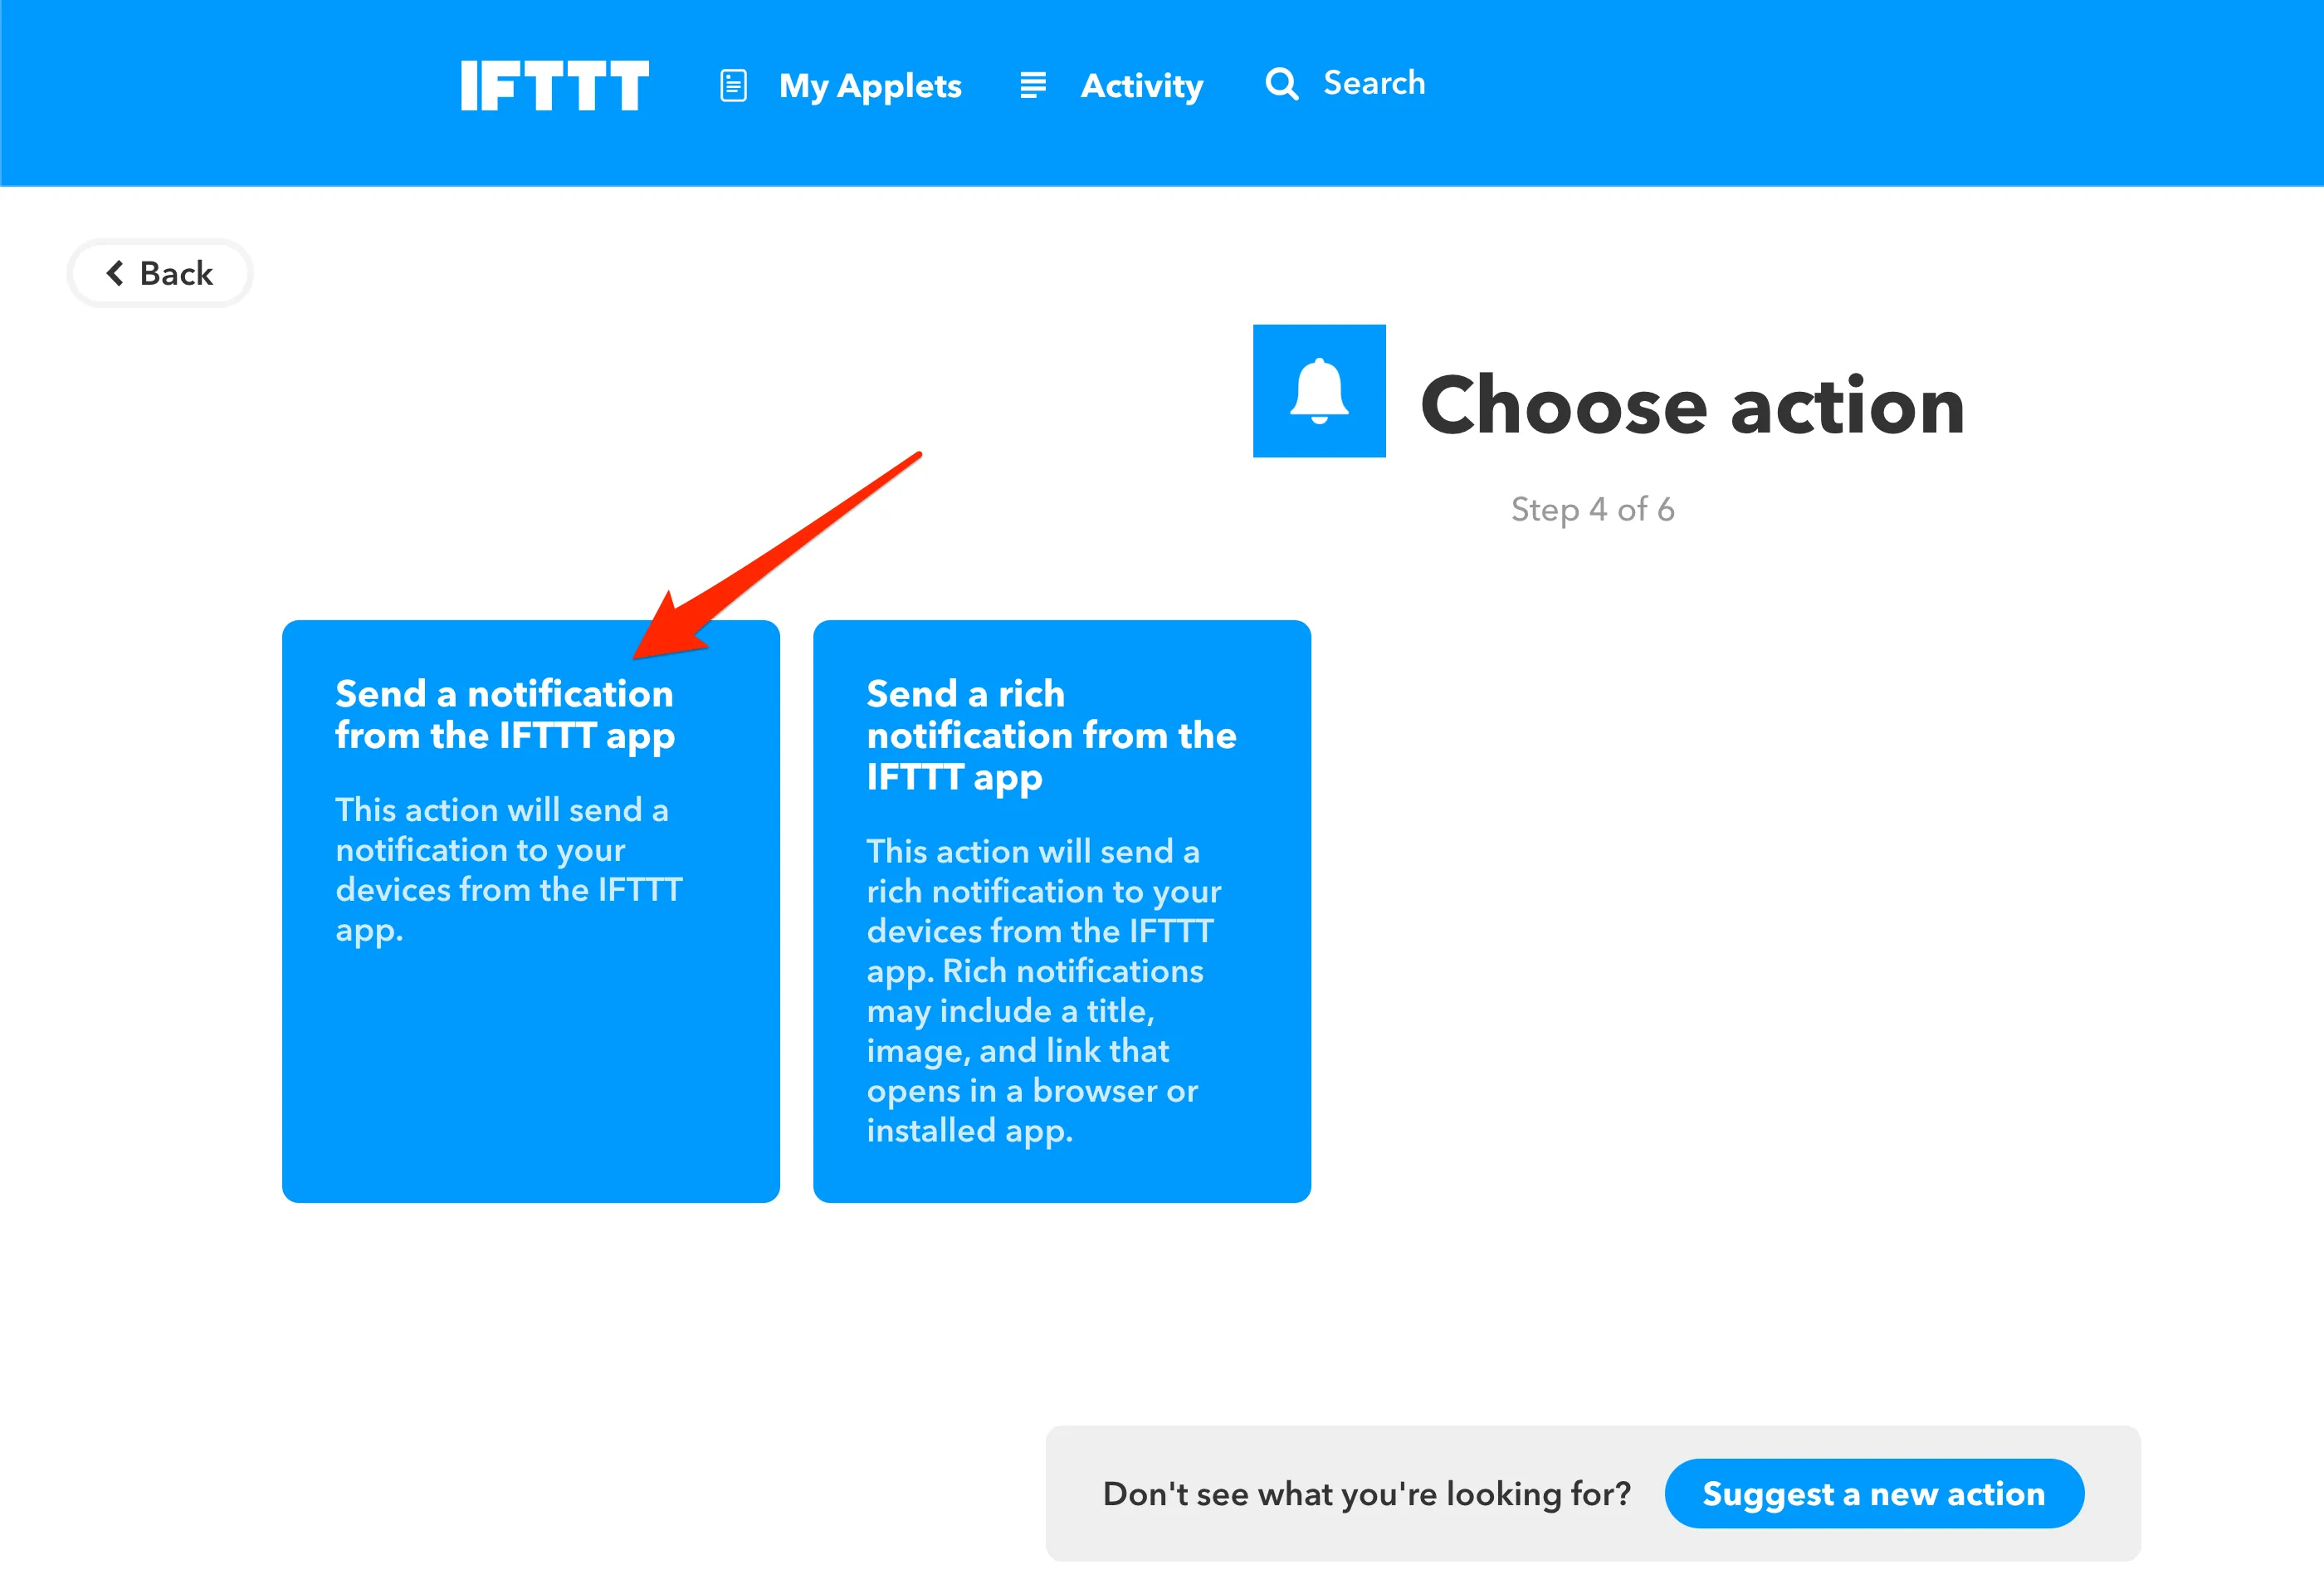
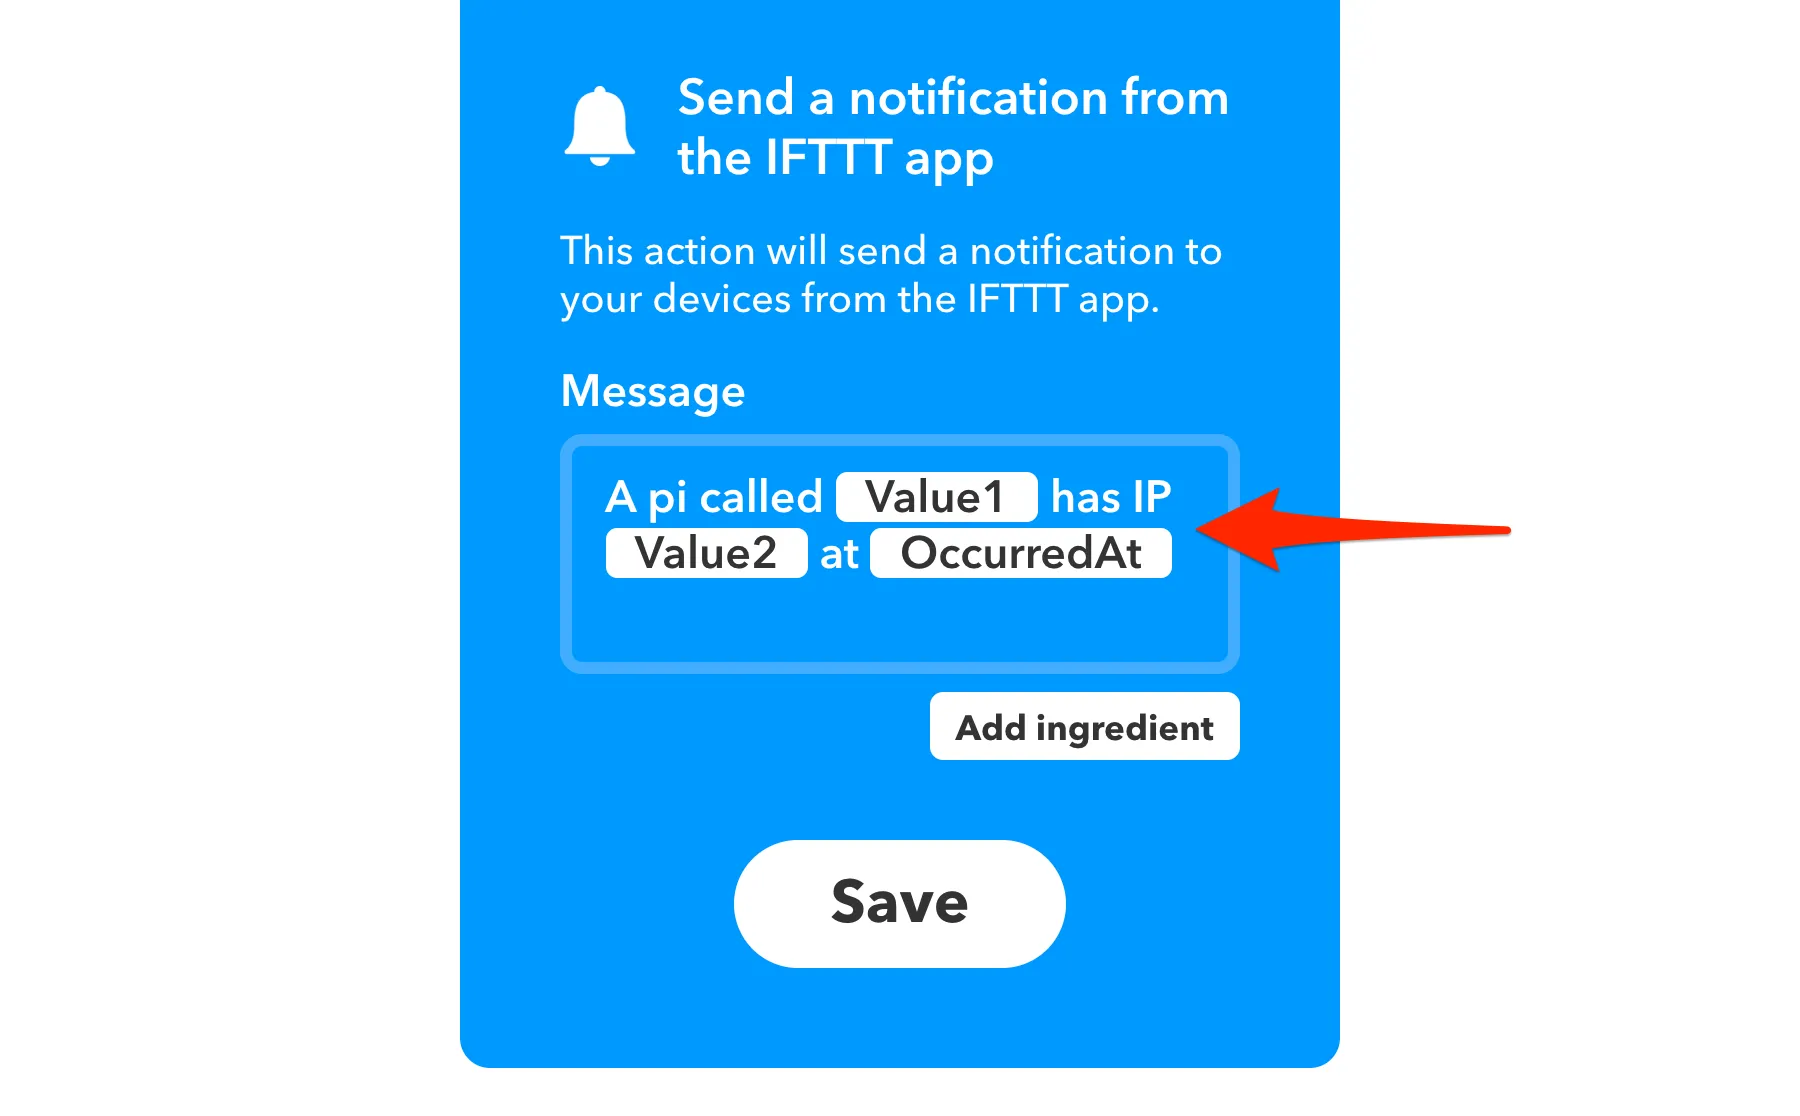
Then choose an action, I chose a notification to my phone. But you could hook it into anything like an email perhaps.
Then I setup the message to be sent to me in the action. I wanted the message to say for example ‘A pi called Tiny Pi has an IP 192.111.11.1 at 14 April 2019’. I thought it would useful to add the date and time as this would also give me basic a restart notification (a very crude debugger I know).
Now we need to get the the url so we can add this to our bash script. Head to https://ifttt.com/services/maker_webhooks and click on the settings.
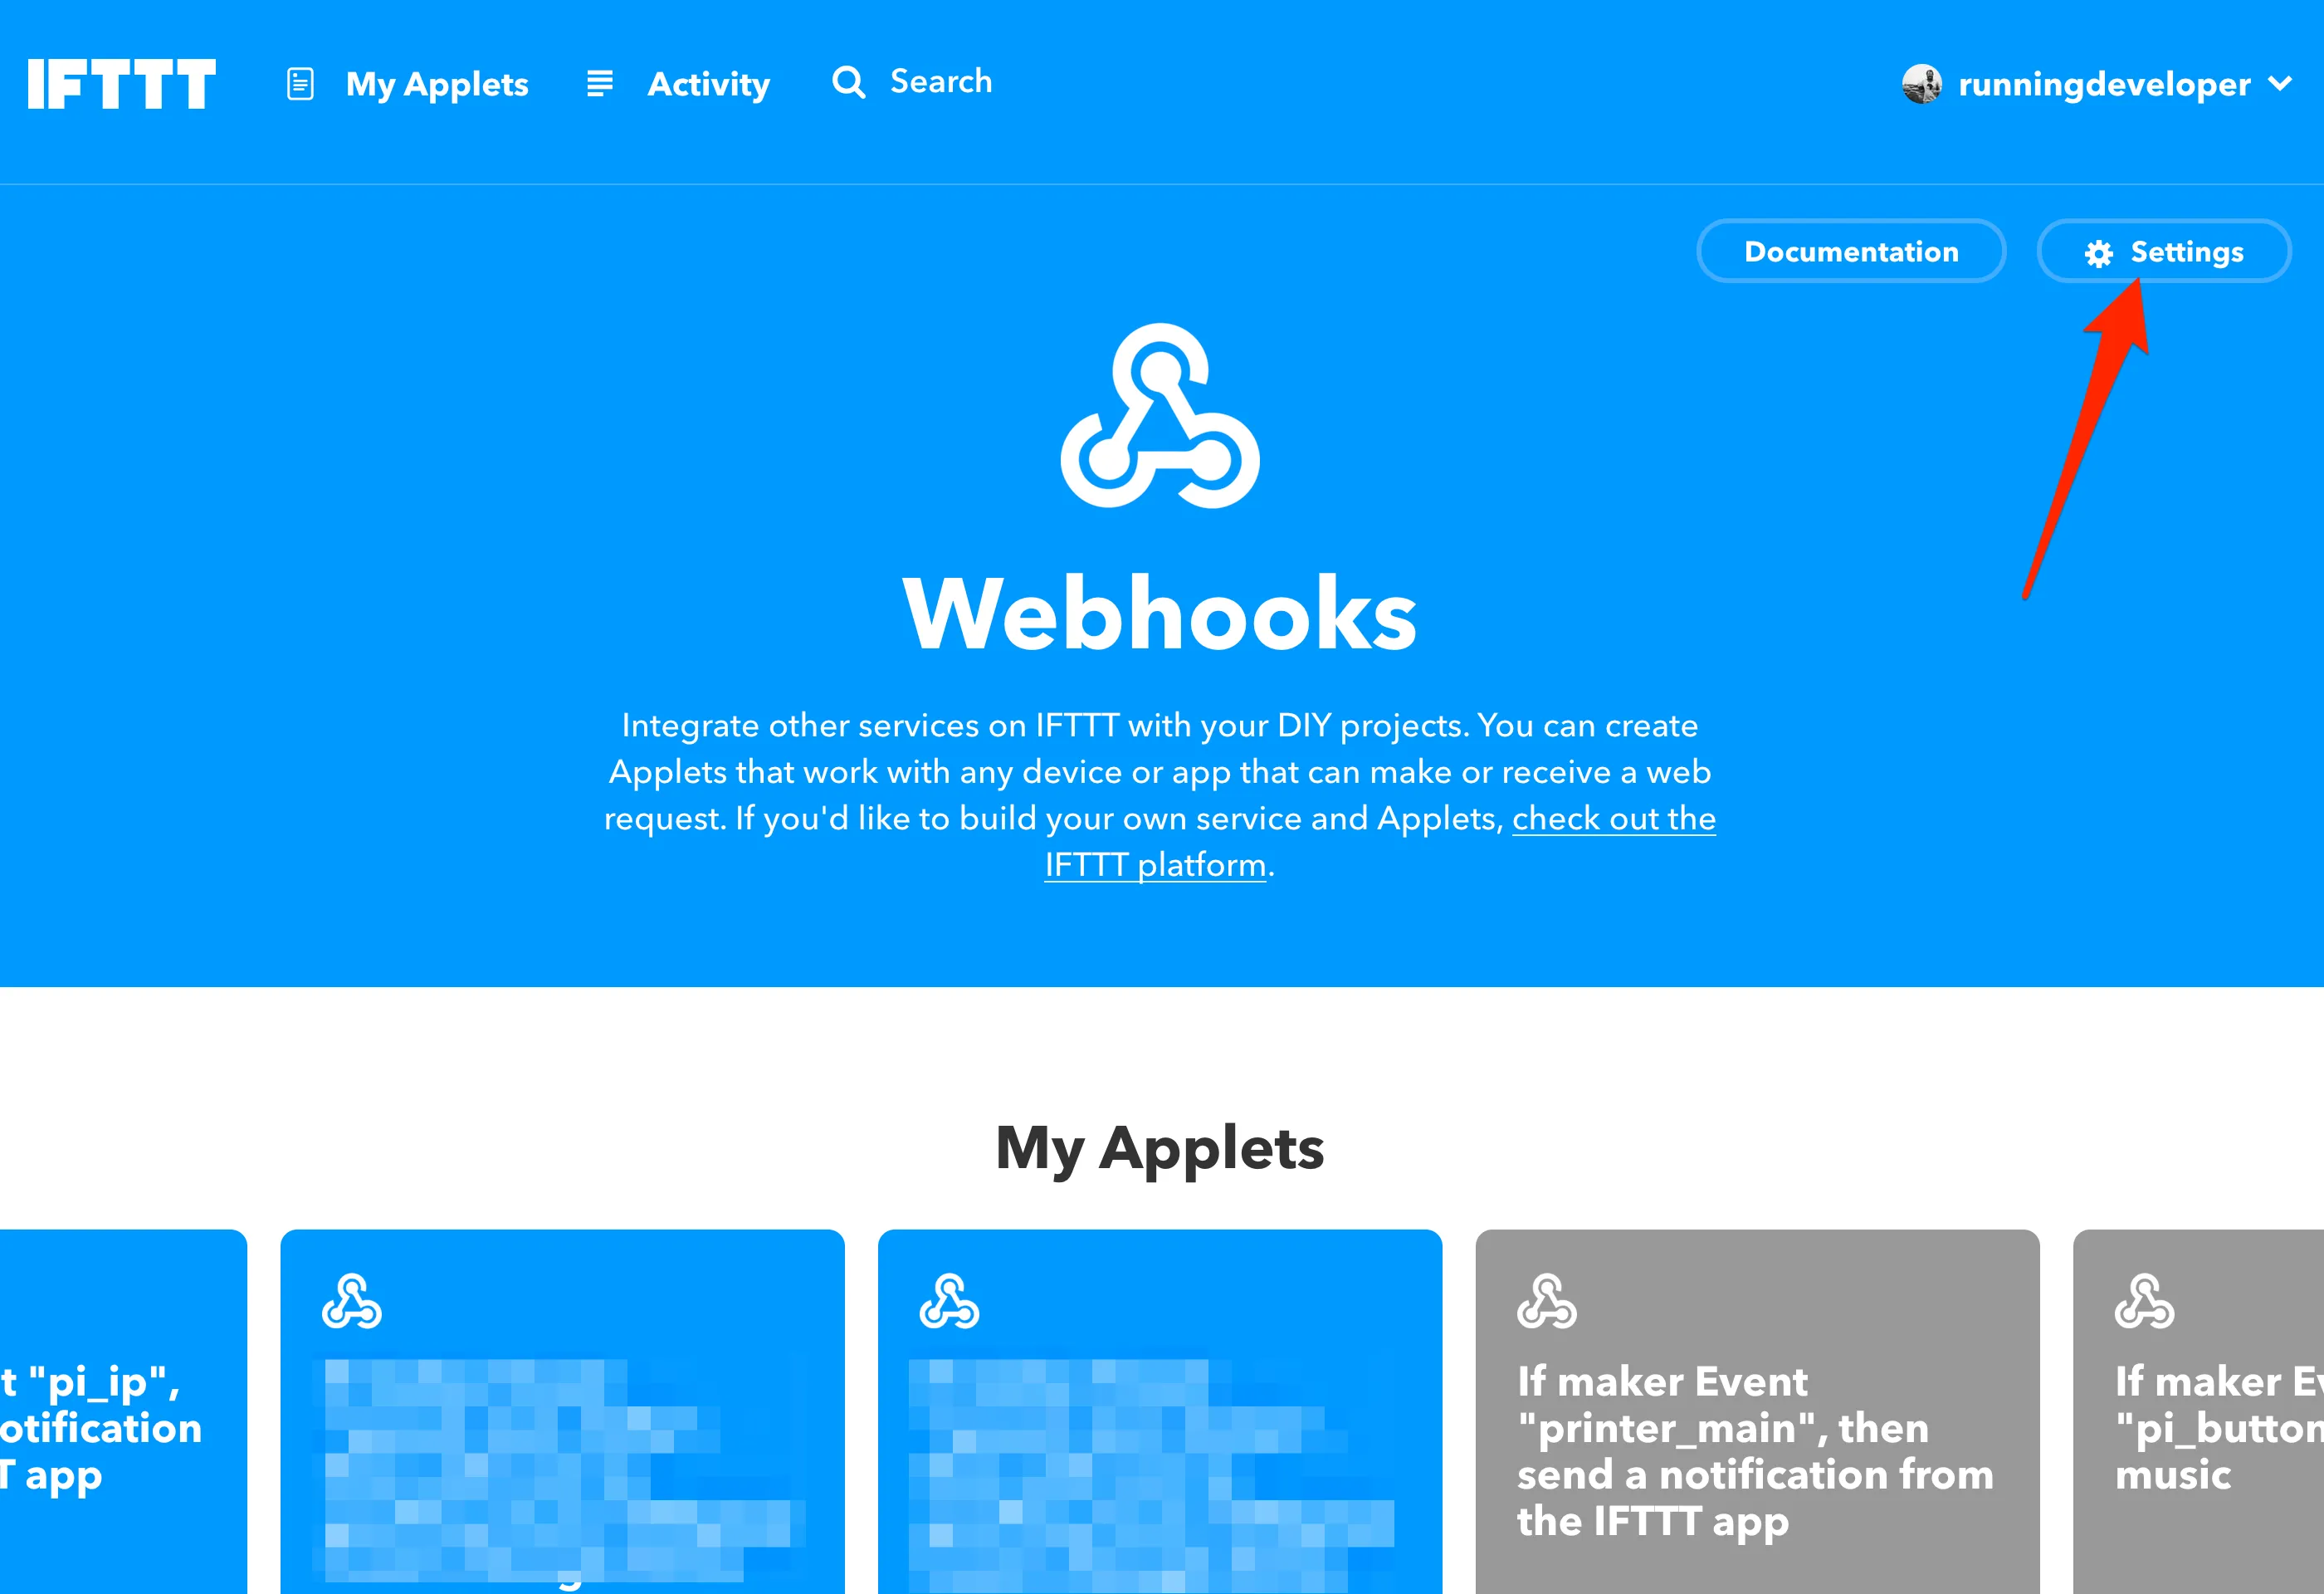
What’s nice is they give you the curl request for the webhook.

Now we can add this into a bash script that runs when the pi connects to the internet. Once you ssh’d into your pi make a file called ip.sh.
nano ip.shand add the following to it (replace the webhook trigger to the one you have setup before)
#!/bin/bash
# send my ip address to ifttt, give it a name here
NAME="Tiny Pi"
MYIP=$(ip route get 8.8.8.8 | sed -n '/src/{s/.*src *//p;q}' | xargs)

json="{\"value1\":\"$NAME\",\"value2\":\"$MYIP\"}"
curl -X POST -H "Content-Type: application/json" -d "$json" https://maker.ifttt.com/trigger/pi_ip/with/key/youriftttkey
Then give it permission to run with the following:
chmod a+x ip.shThen give it a test to make sure it’s working.
./ip.shNow that it’s working lets make it run when the pi boots and connects to the network.
sudo nano /lib/systemd/system/ipsend.serviceThen add the following to the file
[Unit]
Description=Send IP address to ifttt
After=network.target

[Service]
ExecStart=/home/pi/ip.sh

[Install]
WantedBy=network.target
Then enable the service by doing the following commands:
sudo systemctl daemon-reload
sudo systemctl enable ipsend.service
Then reboot and see if it works sudo reboot
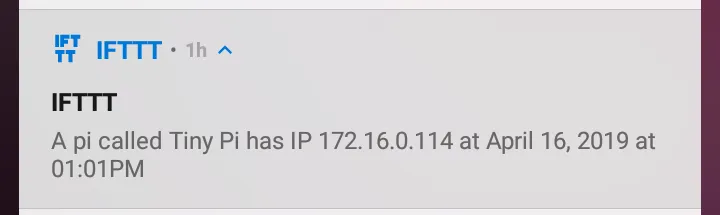
That’s all you need for this over-engineered method. This is what a notification will look like:
Hope this was somewhat useful. Let me know if I am doing something dangerous or wrong.